
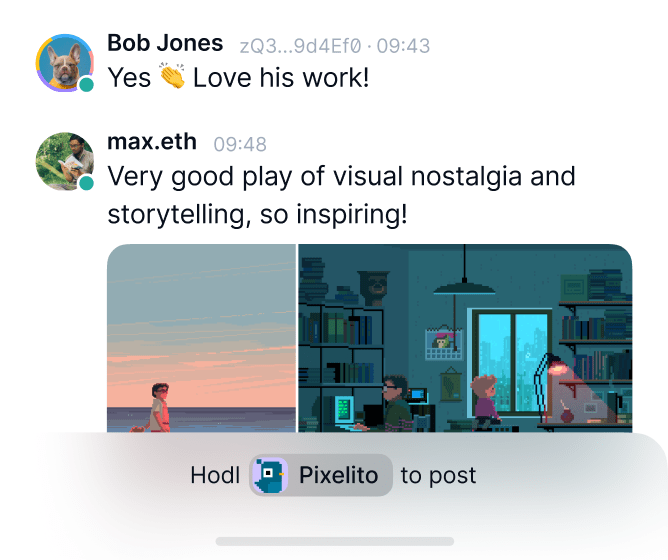
Token-Gated Community Management in Status 2.0
Make the
jump to web3
Use the open source, decentralised crypto communication super app.Alphas for iOS & Android

Discover your community
Find your tribe in the metaverse of truly free Status Communities.
Explore the universe of self-sovereign communities.
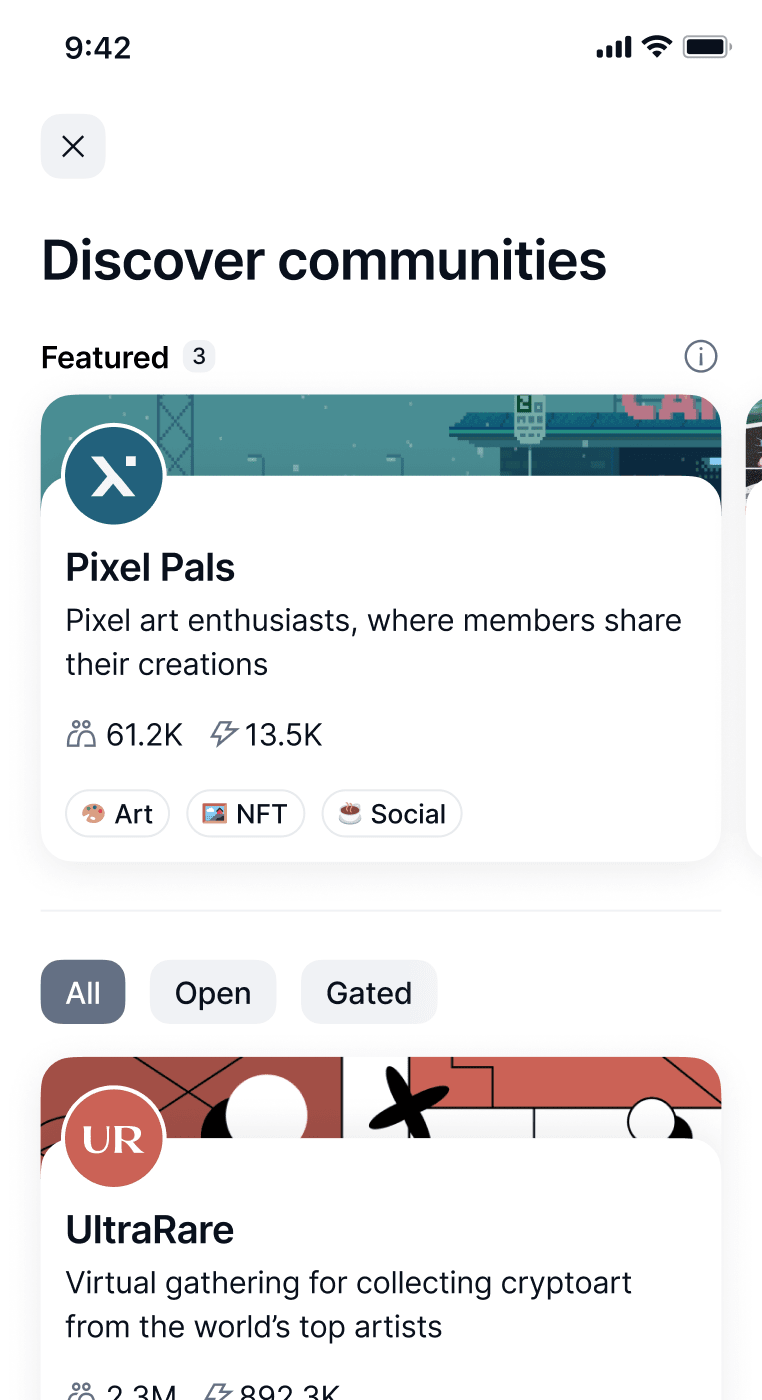
Decentralised and permissionless.
Access token-gated channels. Become eligible for airdrops.

Take back control
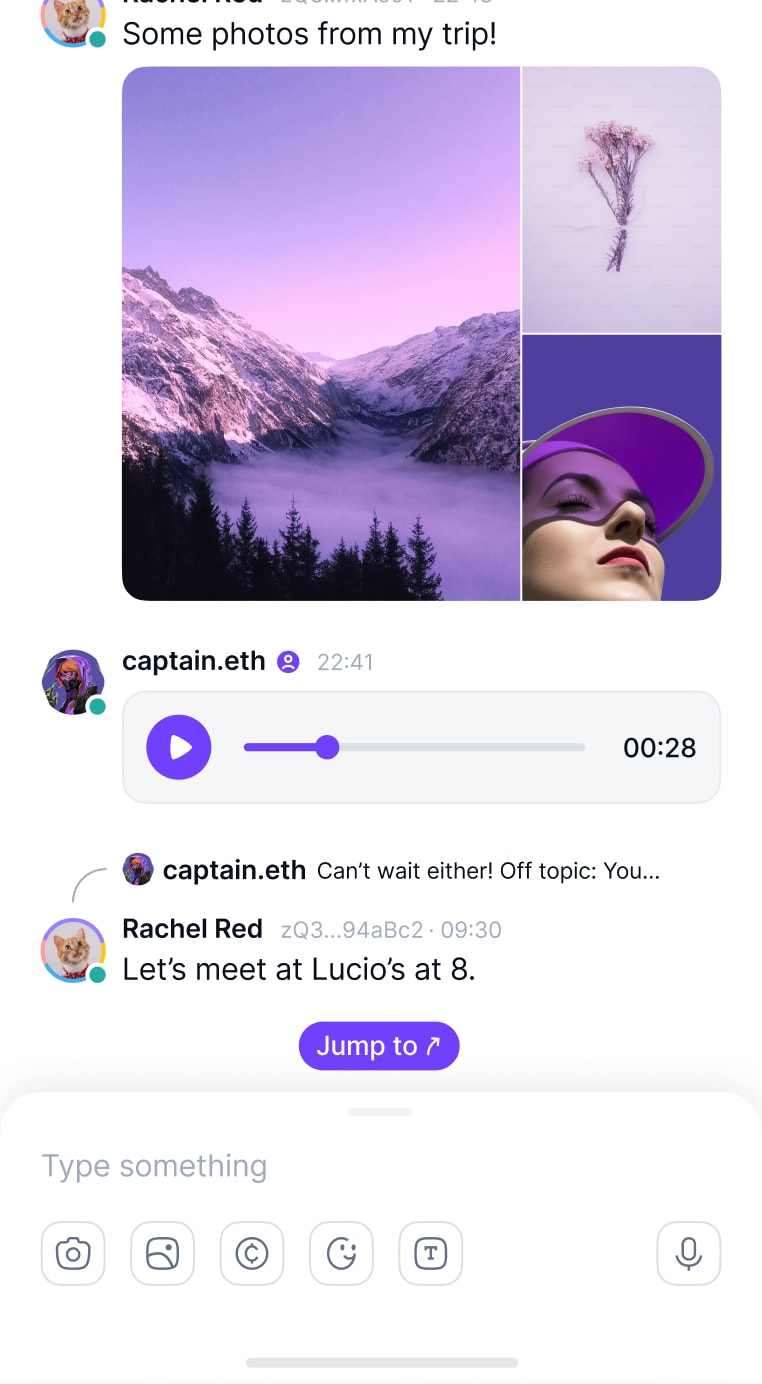
Don’t give Discord or Telegram power over your community.Chat privately with friends
Protect your right to free speech with decentralised messaging, metadata privacy and e2e encryption.


Create and join unstoppable group chats.
It’s the internet.
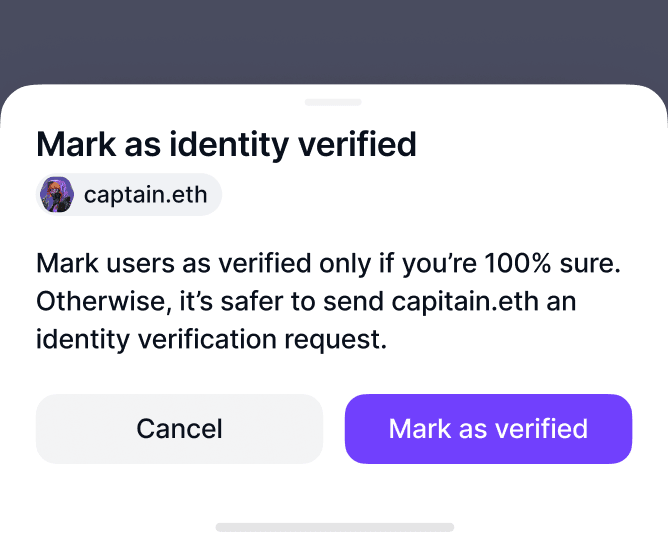
Verify your contacts.
Send crypto to your friends directly from chat.
The future is multi-chain
L2s made simple - send and manage your crypto easily and safely across multiple networks.


Send with automatic bridging. No more multi-chain hassle.
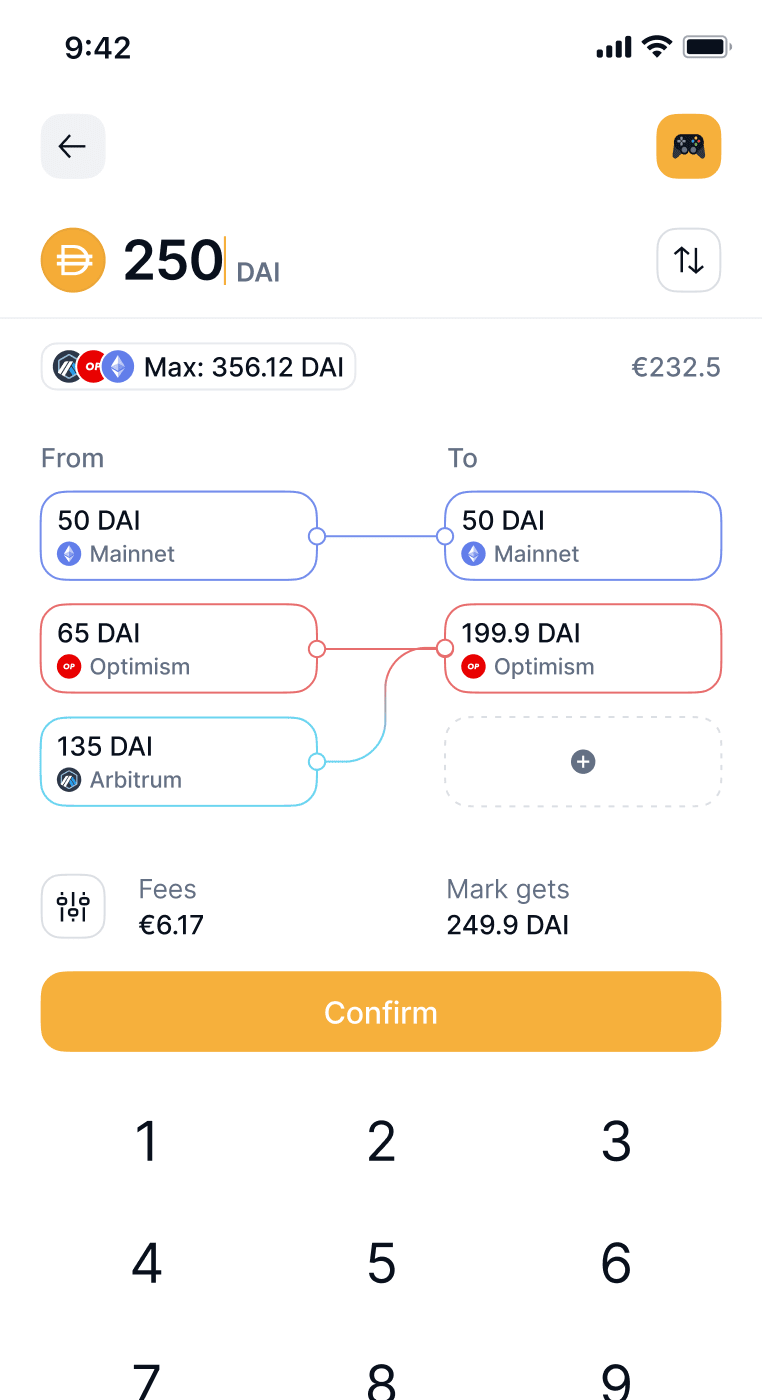
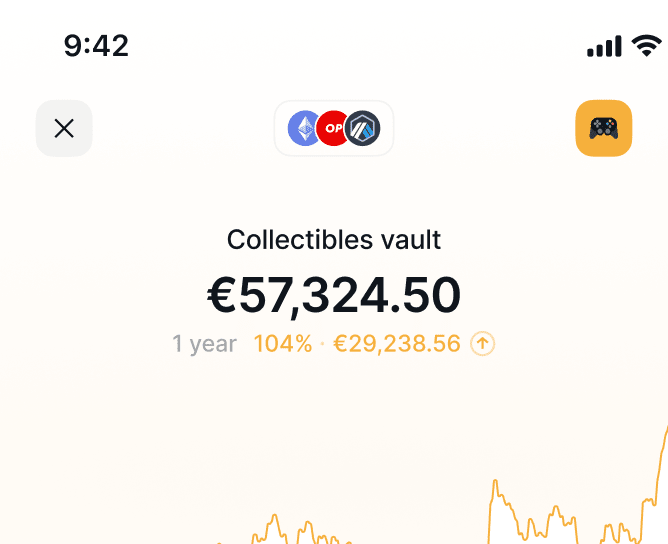
Fully self-custodial. Nobody can stop you from using your tokens.

See how your total balances change over time, in fiat.
Explore dApps
Interact trustlessly with web3 dApps, DAOs, NFTs, DeFi and much more.

Be free from tracking and data collection.
Omnichain dApp connections. So you don’t have to pick chains.

Jump between tasks
Like an operating system, whatever you’ve recently been doing is just a few taps away. Go from chatting with a friend to an account without having to navigate your way back.
Track your notifications
With communities, 1on1 chats, wallet accounts and dApps, there is a lot going on! Stay in control with a global notification centre that lets you see at a glance everything that’s happening in your web3 world.

Make it your own
Customise your Status! Pick an avatar and colour to represent yourself, choose from light or dark mode, pick emojis to represent your accounts, and see the app will take on the character of the communities you join.

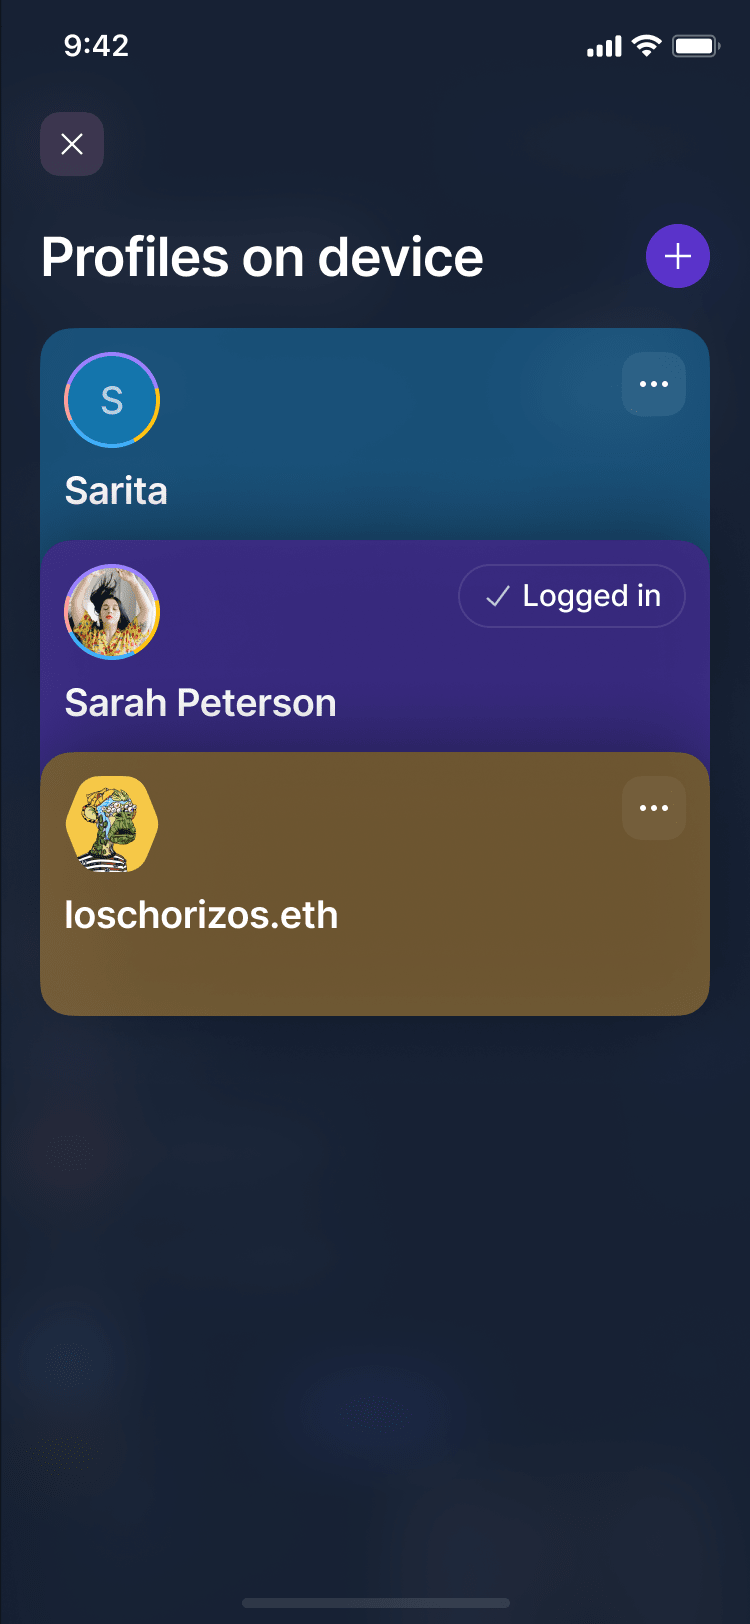
Use multiple profiles
Different online identities? Or sharing a device with family or friends? Not a problem, Status fully supports switching between multiple fully independent identities.
Status is better with Keycard
Decentralising the future
Building apps to uphold human rights, protect free speech & defend privacy.A token by and for Status
Participate in Status’ governance and help guide development with SNT.Stay up to date
Follow development progress as we build a truly decentralised super app.


Be unstoppable
Use the open source, decentralised crypto communication super app.Alphas for iOS & Android